What Is the Anaconda Distribution?
Anaconda is a package and virtual environment manager that includes a set of pre-installed software packages mainly used for data science, machine learning, and large-scale data analysis. It simplifies the management of Python environments and packages, making it easy to install, update, or remove libraries.
How to Install Anaconda
Anaconda is cross-platform and can be installed on Windows, macOS, and Linux.
1. Download the Anaconda Installer
- Go to Anaconda’s download page.
- The download page will automatically detect your operating system and provide the appropriate installer for you.

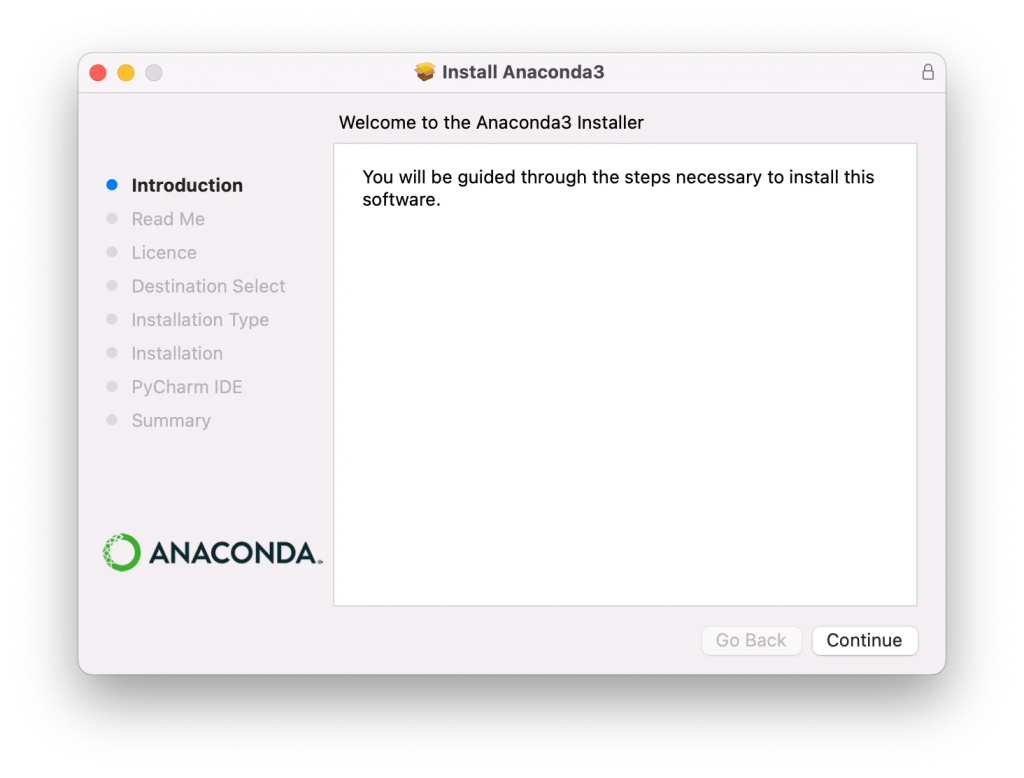
2. Launch the Installer
- Once the download is complete, locate and double-click the installer file to launch it.
- Follow the installation wizard. The default settings are usually sufficient for most users.
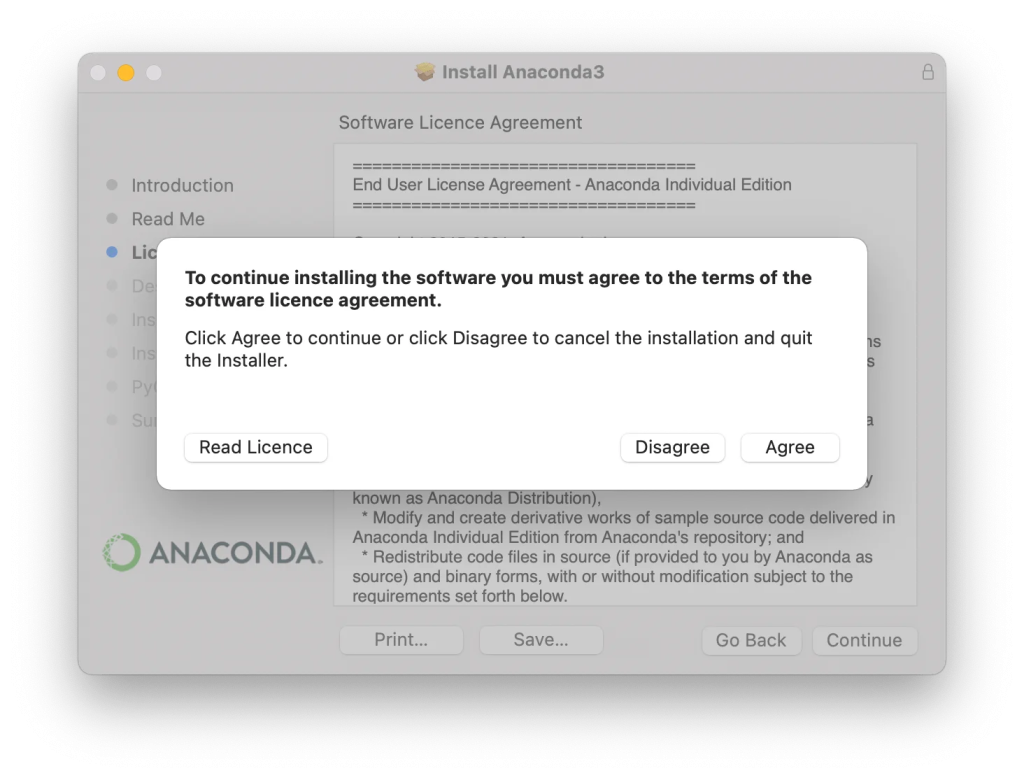
3. Accept the License Agreement
- You will be presented with the license terms during the installation process.
- Read and click “Agree” to continue.
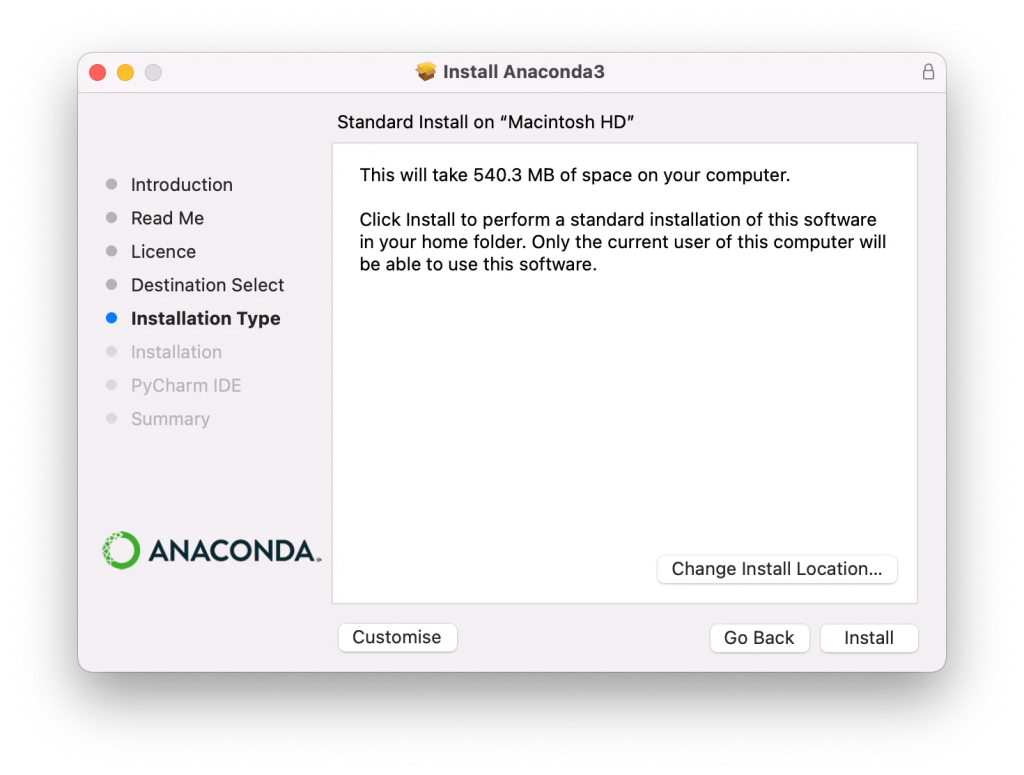
4. Choose the Installation Location
- You will be given the option to install Anaconda for just your user account or for all users on the system.
- You can choose the default installation path or select a different location if desired.
5. Select Optional Components
- The installer may offer additional components, such as the PyCharm IDE.
- Choose the ones you want or skip them if they’re not needed.
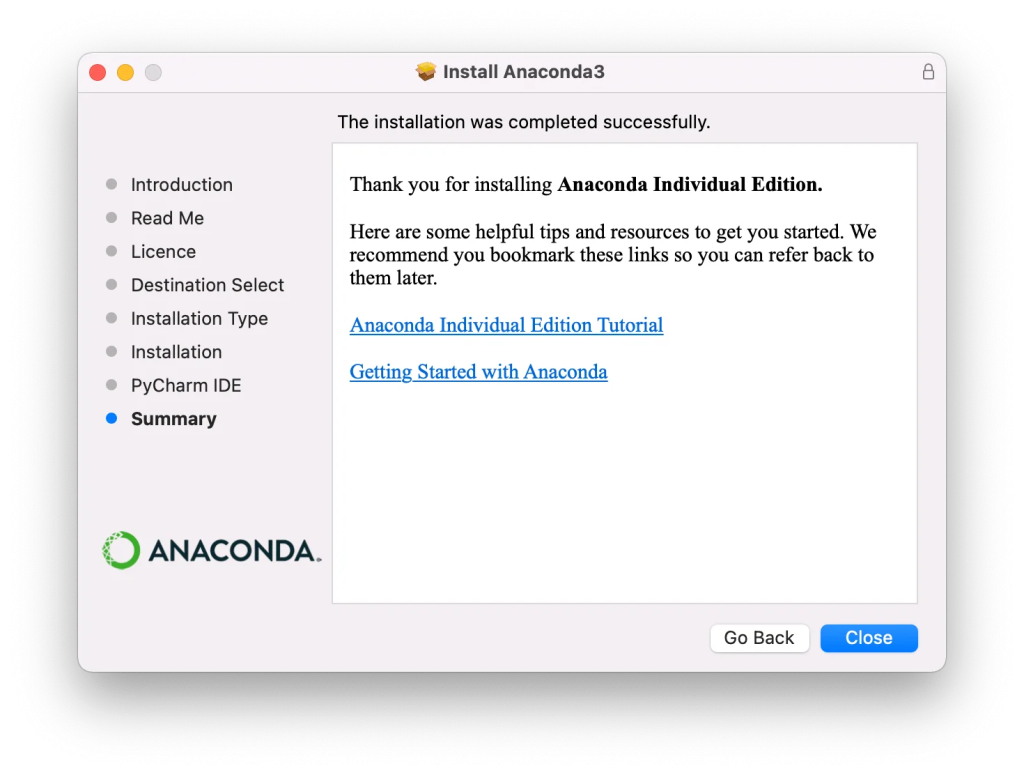
6. Complete the Installation
- The installer will proceed to install Anaconda and its components.
- Once the installation is complete, you can close the installer.
Verifying the Anaconda Installation
After installing Anaconda, it’s essential to ensure that the installation was successful and that everything is set up correctly. You can verify the installation in two ways:
1. Using Anaconda Navigator:
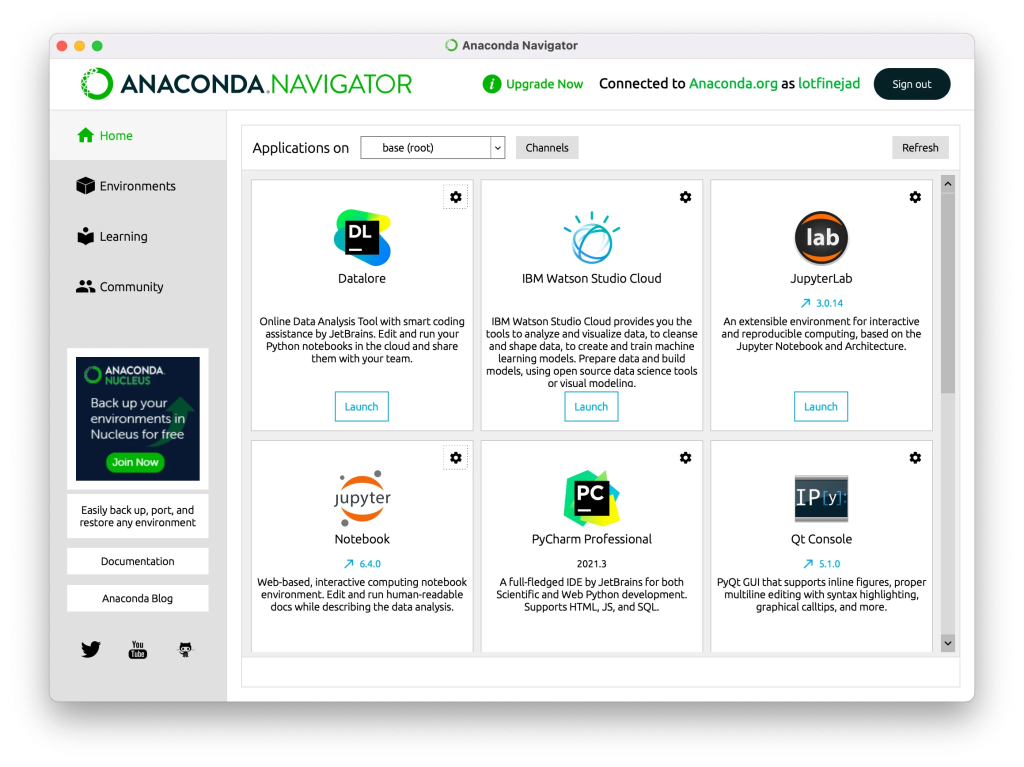
Anaconda Navigator is a graphical user interface that comes with the Anaconda distribution. It’s a handy way to manage packages, environments, and launch applications.
- Locate Anaconda Navigator in the installed applications on your computer.
- Double-click on its icon to launch it.
- If Anaconda is installed properly, the Anaconda Navigator will run, and you’ll see the home screen with various applications like Jupyter Notebook, Spyder, etc.
2. Using the Command Line Interface (CLI):
For those who prefer working with command-line tools or want to check the Conda information directly, the following step can be useful:
- Open a terminal window (Command Prompt on Windows, Terminal on macOS/Linux).
- Type the following command and press Enter:
The next part of the tutorial focuses on how to use Conda, a powerful package and environment management system that comes with the Anaconda distribution.
How to Use Conda
Conda is a powerful tool for managing virtual environments and packages in Python. Let’s explore how to utilize Conda effectively.
Getting Started with Conda
First, ensure that you have the correct Conda version installed on your computer. Open a terminal window and enter conda --version. This will display the version number, allowing you to verify your installation.
Creating a Conda Environment
Creating an environment in Conda is simple. You can create an empty environment with conda create -n my_env, or specify a particular Python version with conda create -n my_env python=3.6. You’ll be prompted to confirm the creation; just press Enter or ‘y’.
Activating and Managing Environments
Once created, you can activate your environment using conda activate my_env. This will show the active environment’s name at the beginning of the command prompt. To view more details about the active environment, use conda info.
Installing Packages
Installing packages in Conda is a breeze. Use conda install <package-name> to install a package, or specify a version with conda install pandas=1.2.4. You can even install multiple packages at once with a single command, like conda install seaborn scikit-learn jupyter.
Reproducing Environments
Conda allows you to reproduce environments with YAML files. Use conda env export > environment.yml to create a file, and conda env create -n new_env --file environment.yml to create a new environment from that file. This is especially handy when sharing environments across different platforms.
Managing Channels
Channels are Conda’s package repositories. You can view and manage channels using various commands, like conda config --show channels. If a package isn’t found in the current channels, you can specify or add new channels to resolve the issue.
Deactivating and Removing Environments
Deactivating an environment is as simple as running conda deactivate. To remove an environment, first deactivate it and then use conda remove -n my_env.
Using Anaconda Navigator (Optional)
If you prefer a graphical user interface, Anaconda Navigator allows you to manage environments and packages without using command-line commands.
Conclusion
You’ve successfully installed Anaconda on your computer and verified the installation. With the Anaconda distribution, you have access to Python, R, and many popular data science tools, including Jupyter Notebook and Conda for managing packages and environments.
Conda simplifies many of the complexities of managing Python environments and packages. Whether you’re creating, activating, deactivating, or reproducing environments, Conda’s intuitive commands make the process straightforward. With additional tools like Anaconda Navigator, even those who prefer a GUI can easily utilize Conda’s robust features.
This tutorial has guided you through the essential tasks you can perform with Conda, empowering you to take control of your Python development environment. Enjoy your coding journey!